

How to Connect a VR Headset to a TV
Virtual reality (VR) headsets are taking the world by storm, offering immersive experiences that transport users to stunning virtual worlds. With major advancements in VR technology in recent years, there has never been a better time to dive into virtual worlds.
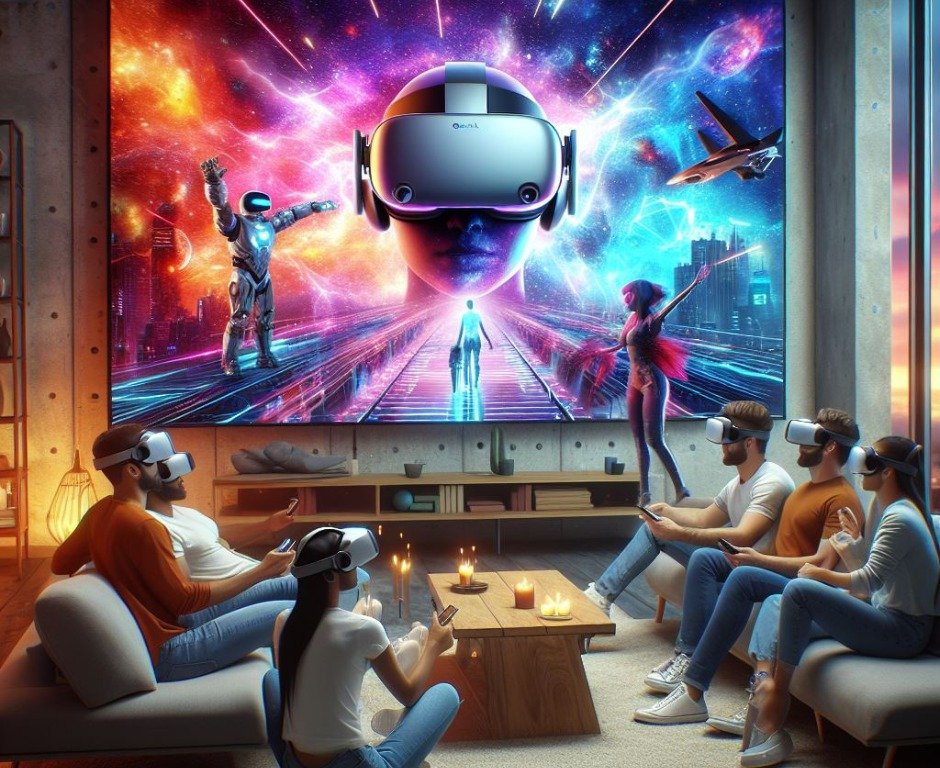
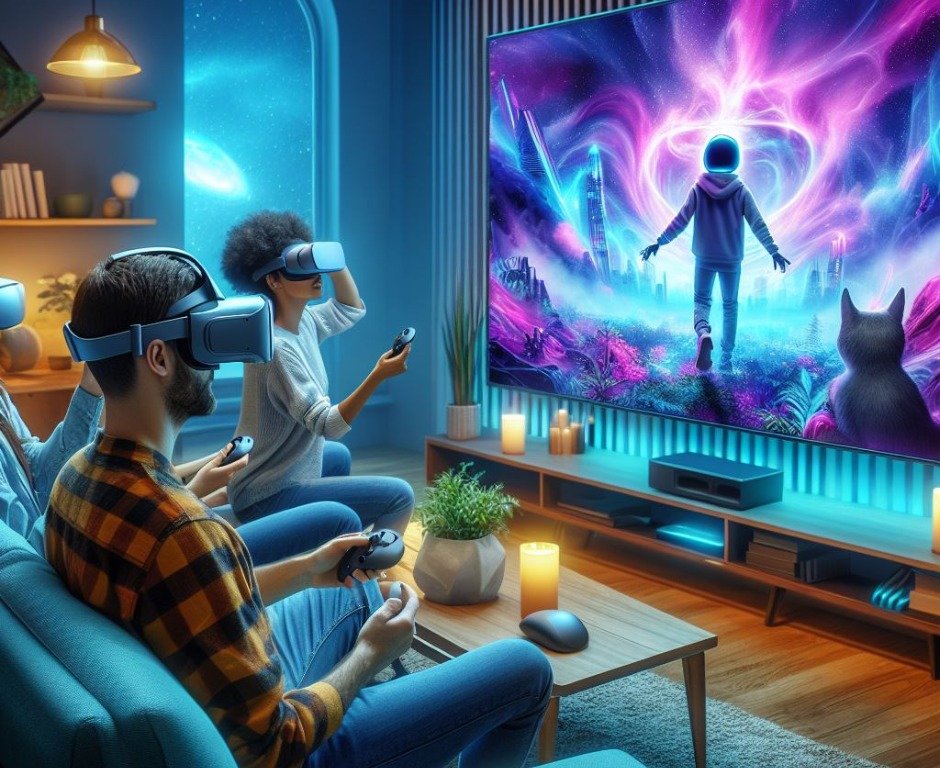
While VR headsets provide mind-blowing visuals and interaction, viewing the experience on a larger screen can make it even more captivating. Connecting your VR headset to a TV allows you to showcase the VR worlds to a larger audience. Friends and family can watch along on the TV screen as you explore expansive vistas and battle epic foes.
Connecting a VR headset to a TV is a straightforward process, but does require some preparation and the right equipment. This guide will walk you through all the steps to hook up your Oculus Quest, HTC Vive, PlayStation VR or other VR headset to a TV in 2024. Follow along to unlock the full potential of your VR device and enjoy an amplified virtual reality experience like never before!
Key Takeaways:
- Check compatibility between your VR headset and TV.
- Use the correct cables to connect the VR headset HDMI and USB ports to the TV.
- Mirror the VR headset display to the TV by enabling the correct settings.
- Fine-tune TV settings like resolution and refresh rate for optimal VR visuals.
- Use wireless casting to connect standalone VR headsets to the TV.
- Adjust the VR lens spacing (IPD) for maximum comfort.
Prerequisites for Connecting a VR Headset to a TV
Before connecting your VR headset to a TV, ensure that your devices are compatible and you have the necessary equipment:
- VR headset with HDMI output – Most modern VR headsets can be connected to a TV, but confirm yours has an HDMI port or adapter.
- HDMI cable – Use a high-speed HDMI cable, preferably HDMI 2.0 or above for higher resolutions.
- TV with HDMI input – Connect your VR headset to an HDMI port on your TV.
- USB connection – A USB 2.0 or 3.0 connection may be required for some VR headsets.
- Wireless casting capabilities – For standalone VR headsets like the Oculus Quest 2, you can cast wirelessly using mobile apps.
Step-by-Step Guide to Connect a VR Headset to a TV
Follow these steps to hook up your VR headset to a TV:
1. Check VR-TV Compatibility
Before getting your cables connected, ensure that your specific VR headset and TV models are compatible with each other.
Refer to the instruction manual or manufacturer website to verify the resolution, ports, and any other requirements for both devices. For optimal performance, choose a TV that can support the highest resolution and refresh rate that your VR headset can output.
2. Connect the HDMI Cable
Turn off both the VR headset and TV before connecting the cable. Using the supplied HDMI cable or a high-speed HDMI cable, connect one end to the HDMI output port on your VR headset. This may be located directly on the headset or on a separate control box.
Plug the other end of the HDMI cable into an HDMI input port on your TV. Make sure both connections are snug and secure.
3. Connect the USB Cable
Many VR headsets also require a USB connection to transmit data and audio between the headset and TV. Using a USB 2.0 or higher cable, connect one end to the USB port on the VR headset and the other end to a USB port on the TV.
For TVs without a USB port, use a USB to USB-C adapter or hub to provide a connection.
4. Turn On Devices and Enable Mirroring
Power on the TV and VR headset. Switch the TV input to the HDMI port that the VR headset is connected to.
On the VR headset, enable the setting to mirror or cast the VR display to the TV. This allows you to view the same content on both the headset and TV screens. The setting is usually under Devices or Sharing in the VR headset settings menu.
5. Adjust and Calibrate the VR Headset
While wearing the VR headset, ensure it is positioned comfortably with the lenses aligned to your eyes. Refer to the user manual to properly calibrate and adjust the interpupillary distance (IPD) of the lenses for maximum visual clarity and comfort.
6. Tweak TV Display Settings
To further optimize the VR visuals on the larger TV screen, head into the TV settings and make adjustments. Under Picture settings, select a preset mode suited for gaming and turn off any post-processing effects.
Set the resolution to match the VR headset native output, along with the highest possible refresh rate. Disable power-saving and turn on game mode if available.
7. Enjoy Your Virtual Reality on the Big Screen!
With all connections made and settings configured, you are ready to experience immersive VR worlds on your TV alongside friends and family. Explore expansive environments, battle epic foes and journey across alien landscapes, all from the comfort of your living room.
Key Differences When Connecting VR Headsets
While the general connection process remains the same, specific steps can vary across different VR headsets models and brands.
Here are some key differences to keep in mind:
Oculus Rift/Rift S
- Requires HDMI and USB connection from the Rift headset to computer, with display mirrored to TV via HDMI from the graphics card.
- Use the Oculus app to enable Display Mirroring under Devices.
HTC Vive/Vive Pro
- Connect the headset HDMI and USB to the Vive link box, then output video from link box to TV via HDMI.
- Mirror display by enabling Direct Mode on SteamVR.
PlayStation VR
- HDMI connects PS4/PS5 console to TV, USB and HDMI connect PS VR headset to PS console.
- Mirroring enabled under PSVR Devices settings.
Oculus Quest/Quest 2
- As standalone headsets, can wirelessly cast to TV using Oculus app and Airplay/Chromecast/Miracast.
- Can also connect via Oculus Link cable to PC, then mirror to TV from GPU.
Wirelessly Casting Standalone VR Headsets to a TV
Modern standalone VR headsets like the Oculus Quest 2 don’t require cables to connect to a TV. Instead, they can conveniently cast wirelessly using WiFi and mobile apps.
Here are the general steps to wirelessly cast from a standalone VR headset to your TV:
- Connect VR headset and TV/streaming device to same WiFi network.
- Download the VR headset mobile app on your smartphone.
- Launch the app and enable casting permissions.
- Select the Cast option within the app and choose your TV.
- Put on VR headset and start casting the view to the TV!
Refer to the VR headset and TV documentation for detailed instructions on wirelessly casting and enabling screen mirroring over WiFi.
Tips for an Optimal VR-to-TV Experience
Follow these tips to get the most captivating experience when connecting your VR headset to a TV:
- Position TV and VR play area to allow for safe movement when wearing the headset.
- Adjust TV settings while VR is mirrored for accurate picture quality.
- Match the VR headset and TV resolution to prevent blurriness or distortion.
- Use VR headphones or mute TV audio to avoid echo or synchronization issues.
- Connect VR headset to a gaming PC for the highest performance if possible.
- Close curtains or dim lights to reduce glare on the TV screen.
- Cast wireless VR headsets for cable-free convenience and mobility.
- Re-calibrate the VR headset lenses and sensors if losing tracking.
Connecting an Oculus Quest Headset
The Oculus Quest and Quest 2 headsets offer wireless connectivity and hand tracking without requiring a PC or cables. Here are the steps to mirror to your TV screen:
1. Get a Chromecast device
You’ll need either a Chromecast Ultra or Chromecast with Google TV dongle. Make sure it’s connected to the same wifi network as your Oculus Quest headset.
2. Enable pairing mode
Activate pairing mode on both devices:
- On Chromecast, go into settings and turn on “Enable VR pairing mode”
- In your Oculus Quest headset, enable this setting in the quick settings menu
3. Begin casting
Now you can cast from most Quest apps and games directly to your Chromecast connected TV! The virtual reality display shown in your headset will duplicate onto the larger screen.
This wireless streaming method provides solid image quality while allowing total freedom of movement. Just be sure your wifi can handle the bandwidth demands.

Connecting a Vive, Rift or Index to DisplayPort/HDMI
For PC-powered headsets like the HTC Vive, Oculus Rift or Valve Index, the process involves plugging a physical display cable between your GPU and TV.
1. Connect your headset to your PC
First hook up your VR headset to your gaming PC as usual, including the HDMI/DisplayPort plugged from your graphics card to the headset.
2. Add a 2nd display output
If your GPU has a 2nd HDMI or DisplayPort available, connect that directly to your TV. If not, use an HDMI splitter on your primary display output to connect both headset and TV.
3. Extend or duplicate the display
Within Windows display settings:
- Select “Extend” to show different content on each display
- Or choose “Duplicate” to show the same view mirrored on both screens
This hardwired approach delivers full HD resolution and lag-free visuals to your television. Just take care to not trip over cables trailing around your VR playspace!
PlayStation VR – HDMI Passthrough
The PSVR headset box features an integrated HDMI passthrough port. This allows passing through video and audio from your PlayStation 4 or PS5 console directly to a TV with a single HDMI cable.
To enable:
1. Connect PS VR processor unit to TV
Use an HDMI cable between the “HDMI PS4” port on the PSVR processor box and your TV HDMI input.
2. Configure HDMI passthrough
In PlayStation settings make sure HDMI passthrough is enabled and activate “Display VR content on your TV automatically when using VR”.
Now whenever you enter PS VR, the social screen will automatically show the duplicate view – no additional steps needed! This simplicity makes group viewing effortless.
Enjoy VR as a Social Experience
Beyond solo gaming and exploration, connecting a headset to a TV unlocks new possibilities for social VR experiences. Spectators can participate with a first-person view instead of watching someone awkwardly flail around with a headset blocking their face!
Groups of friends can take turns in the driver’s seat while everyone enjoys reactions together on the couch. Or privately guide someone new through their initial baby steps into your favorite VR titles from the sidelines.
With robust options now available to wirelessly or tether VR headsets to televisions, the technology has fully matured to enable shared living room VR parties. No more huddling around tiny smartphone screens! Treat your TV as a portal allowing the entire room to cross over into immersive virtual worlds.
Frequently Asked Questions
Can I connect my Oculus Quest 2 to my TV?
Yes, the Oculus Quest 2 can be connected to a TV wirelessly by casting through the Oculus mobile app, or with an Oculus Link cable connected to a gaming PC.
Does PlayStation VR work with any TV?
PlayStation VR is compatible with most modern TVs through the PS4/PS5 HDMI connection. Your TV requires at least one free HDMI port.
Why does my VR picture look blurry on the TV?
A blurry image usually means there is a mismatch between the VR headset resolution and the TV output resolution. Adjust the resolution settings on both devices.
How do I get audio from the VR headset to the TV?
For audio to play through your TV speakers, ensure your VR headset is connected to the TV via HDMI and the TV audio output is set to the correct HDMI input.
Can I connect and cast VR wirelessly to smart TVs?
Yes, most smart TVs allow you to cast or mirror VR headset display wirelessly through WiFi using casting capabilities like Chromecast, Miracast, and AirPlay. For example, you can cast from an Oculus Quest 2 to a smart TV using the Oculus app and Chromecast.
What is the best TV for VR gaming?
For the optimal VR gaming experience on a TV, look for a TV with 4K resolution, high refresh rates up to 120Hz, HDMI 2.1, variable refresh rate support, and low input lag. Top choices include the LG C2 OLED, Samsung QN90B Neo QLED, and Sony X90K LED TVs.
Should I connect my VR headset to a TV or computer monitor?
For the best performance and immersion, connect to a TV if possible. VR headsets output at lower resolutions that look sharper on large TV screens, compared to being up close to a monitor. TVs also allow you to sit back at a comfortable viewing distance.
How can I improve the VR visuals on my TV?
Adjust the TV picture settings by enabling game mode, matching the input resolution to VR headset output, turning off post-processing effects, and choosing a preset picture mode suited for gaming and VR. Also check that the VR lenses are clean and properly calibrated.
Why does my VR game lag on the TV?
Latency while casting VR to your TV is usually caused by WiFi issues. Ensure your VR headset and TV/casting device are on a 5GHz WiFi connection in close proximity. Or use a wired connection via HDMI or USB cable for lag-free performance.
Can VR headsets connect to any TV with HDMI?
While most modern TVs with HDMI ports are compatible, some older TVs may not support the high resolutions required for VR visuals. Refer to your VR headset and TV specifications to confirm compatibility.
Conclusion
Connecting your VR headset to a TV takes your virtual reality experiences to larger-than-life dimensions. Watching others experience VR on the big screen is extremely entertaining and also opens up immersive worlds to those without a headset.
With the correct cables, compatible devices, ideal viewing settings, and a few setup steps, you can hook up your Oculus Quest, PlayStation VR, HTC Vive or any other VR headset to your home TV. Wireless casting options make it easier than ever to display VR in your living room.
Just follow the instructions specific to your VR headset model to enable display mirroring, adjust for optimal visual clarity, tweak TV picture modes, and cast wirelessly if possible. With an amplified view of breathtaking VR worlds on your television alongside friends and family, your virtual adventures have never been more awe-inspiring and engaging.